75g Reef

Materials:
New Equipment
-
•75g AGA Reef Ready Glass Aquarium ($75)
-
•Custom Built Hardwood Hood ($25)
-
•Misc Parts & Materials ($100)
Repurposed Equipment
-
•Black AGA 75/90g Stand
-
•29g AGA Glass Aquarium
-
•Hydor Koralia 3
-
•QuietOne 4000
-
•2 - Hydor Theo 150W Heater
-
•Reef Angel Controller
-
•ASM G3 Skimmer
Total Project Cost: $175
Biological Filter:
-
•100lbs Cured Fiji Live Rock
-
•60lbs Fiji Pink Live Sand
-
•40lbs White Aquarium Sand
Details:
This tank is still very much a work in progress. I’m very happy with how this tank is aquascaped and I’m in the process of building up my corals and filling in all of the open space. I made a trip to Mr. Coral in Frederick, MD and my frag rack is jam packed now. Once everything grows out a little, I’ll start placing them on the rockwork. You can see some pics of the new corals on my blog.
This tank came to existence when my 90g blew out a seam while we were moving from NJ to MD in the summer of 2011. It was a real pain in the neck that it happened and I was pretty bummed out, but I’m much happier with the 75g and my hair algae problem is GONE! (Knock on wood!) I reused just about everything from my 90g build and added a few new things. Let’s go through it from the bottom up...
Sump
I reused the 29g tall tank that I had from the 90g for my sump. I originally used Lexan for the baffles and they really did not hold up well. The Lexan I used was too thin and it bent and came loose from the tank walls. I didn’t like the size or positioning of the chambers either, so I ripped everything down to the bare 29g tank. I had glass cut at the local hardware store for $8 each and redid everything.
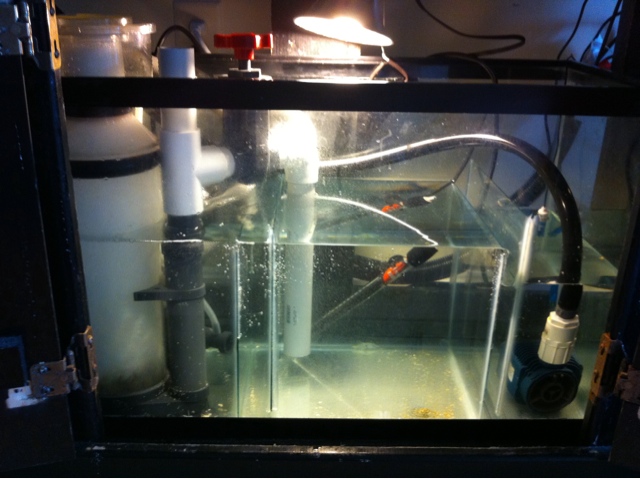
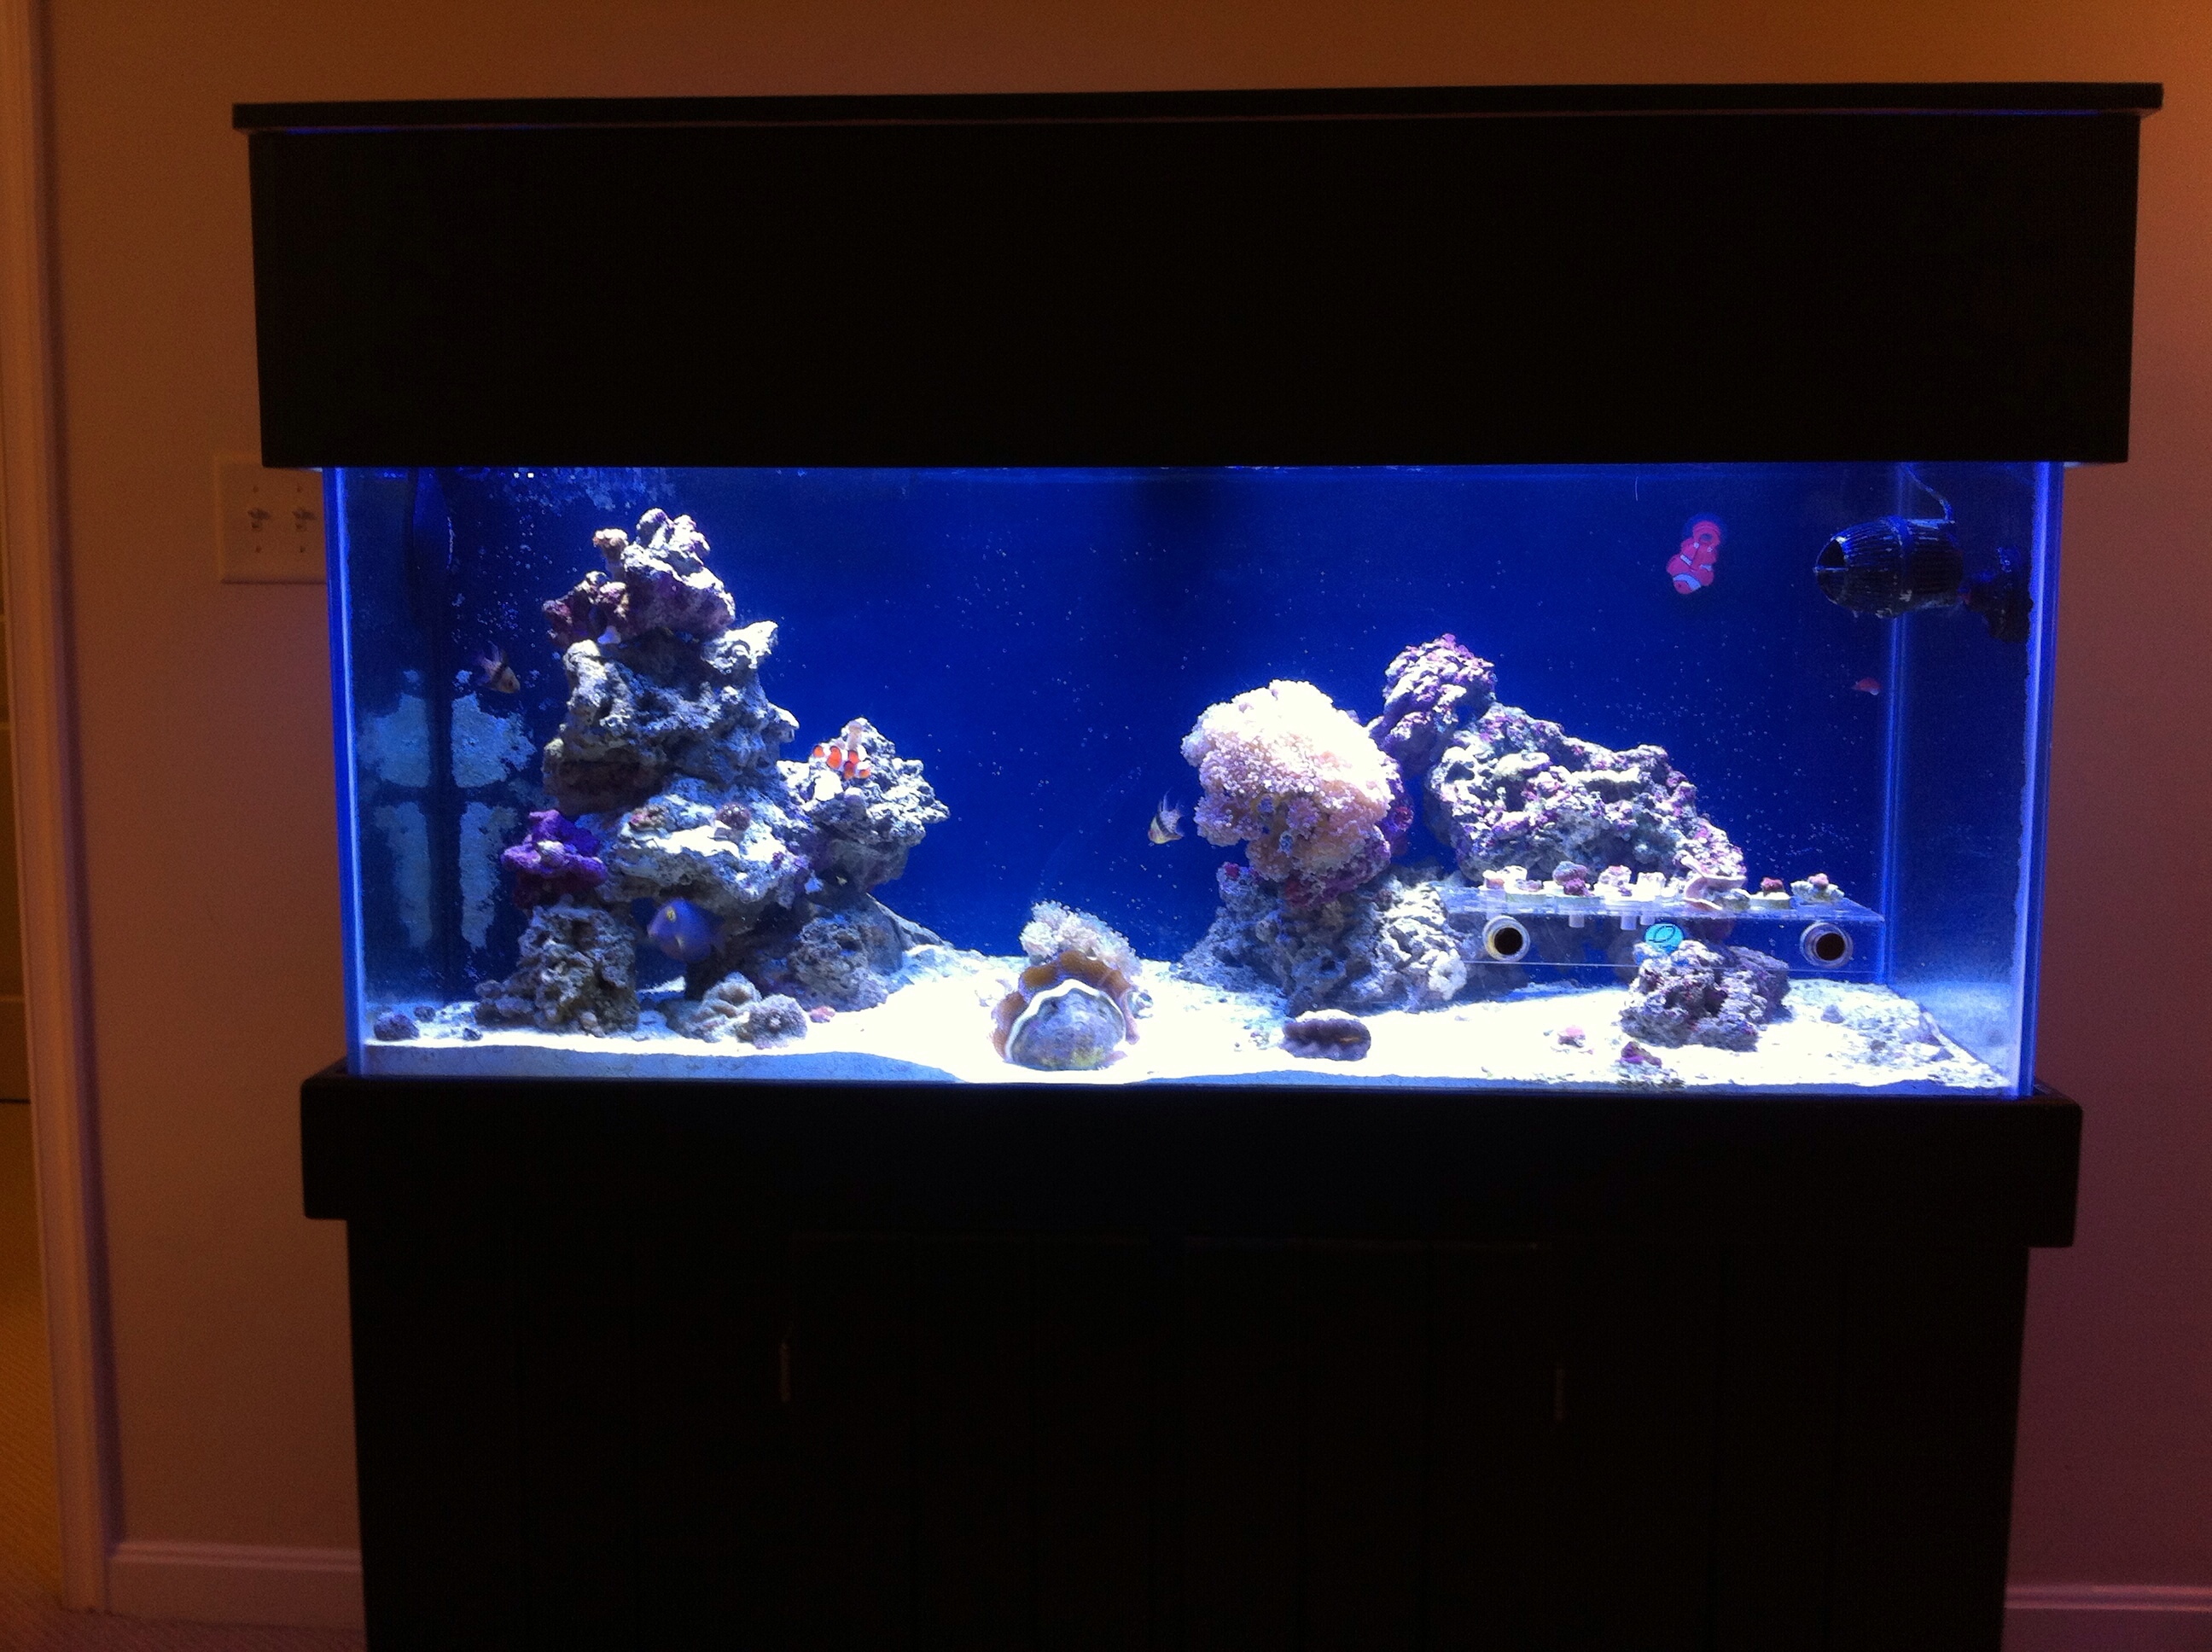
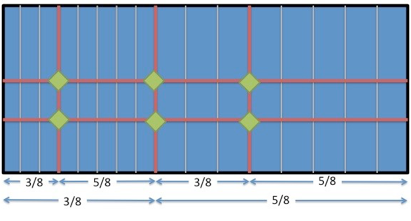
For my aquascape this go around, I decided to go with a plan rather than just wing it. As it turns out, the brain really likes Fibonacci sequences and finds them very appealing. The scape follows this thinking. For me, I used 3 and 5. I divided the tank into 8 equal sections vertically and horizontally. Then you make major elements align at every 3 or 5 marks. It really makes a difference. The drawing below is how my tank is laid out. Along the vertical red bars is where you want to place peaks. At each red vertical/horizontal intersection is where you want to place either a centerpiece coral. If you overlay the drawing below on the full tank shot above, you’ll see how everything aligns.
It is a bit hard to see everything in the picture above. The water enters the sump on the left side behind the ASM G3 skimmer. You’ll notice that the ASM has been modified (more on that here). In my last sump I used three part baffles, but I found that 2 parts work just as well and save space. Water flows over the top of the left baffle and down through the entrance at the bottom to the center refugium chamber. In this picture I only had my heater in there, but there is chaeto and live rock in there now.
From here, the water flows over the top of the right baffle and down to the entrance of the final chamber where the return pump, a Quiet One 4000, is housed. I don’t get any bubbles from one end to the other and the flow is totally silent. I use regular vinyl tubing to connect the return pump up to the tank return.
There is a regular old shop light fixture in there as well that has a CFL bulb in it. The sump runs on a reverse photoperiod from the tank.
Tank
I don’t think there is too much to say about the tank itself really. It is a stock 75g, reef ready, All Glass Aquarium with a corner overflow. I painted the back a dark blue color which really makes everything in front pop, in my opinion. I have a Hydor Koralia 3 in the upper right corner to provide some additional flow and surface agitation.

Hood
For my 90g, I built a really simple box to hold my DIY LEDs, but I can’t hang the lights in my apartment. I decided to look for a hood. One of the guys in DVRC had a hood that he built out of hardwood for his old 75g tank that he wasn’t using anymore. For $25, I couldn’t turn it down. Since it was made out of hardwood, it wasn’t painted. As much as it pained me to do it, I painted it with a bright white inside and semi-gloss black on the outside. The overall look goes quite well with my stand. Now, on to the important stuff... the inside!
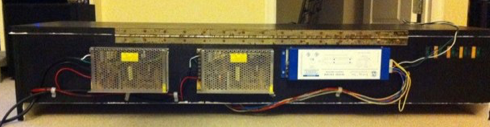
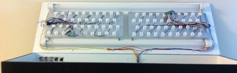
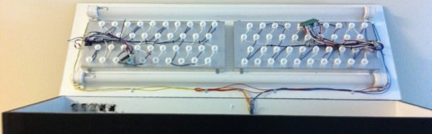
I ripped apart the LED setup I had and mounted everything inside the hood canopy. While I don’t have the height over the tank anymore, I’m still able to get the lights about 6” over the surface of the tank. The picture below is before I mounted my drive circuits to the sides. As you can see, they are currently strapped across the LEDs in this picture.
The biggest change I made was adding the two T12 actinics I had laying around from when I first bought my 90g. I had been happy with my LEDs, but felt like something was missing. I have to say, I LOVE the extra pop I get from the actinics.
Livestock: (11/27/11)
Fish:
Hoeven’s Wrasses (x2)
Oc. Clown
Kole Tang
McCosker Flasher Wrasse
Pajama Cardinal (x2)
Corals:
Hammer Coral
Armor of Gods Zoos
Steel Blue Zoos
Duncans
Wammin’ Watermelon Zoos
Electric Green Zoos
Green Mint Zoos
Purple Stylo
Several Acans (Reds, blues and purples)
Red Mushrooms
Favites adbita
Chalice
War coral
Several to be identified
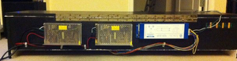
I was able to mount all of the power supplies to the back of the hood and it is nicely hidden behind the tank. Ignore the power cord for the T12’s that’s draped over the top.